Showing posts with label dinning table. Show all posts

Wednesday, March 29, 2017

Cerused Wood

sdfsdf
Cerused Wood
Cerused wood is a decorative technique by which the wood grain is filled with a white nontoxic wax to create a contrast against the stain. This contrast evokes the Elizabethan look, but without the worry of white lead poisoning! This effect has been used by many designers to enhance kitchen cabinetry or furniture. It creates an incredible depth and a rustic elegance. Be ready to see cerused wood make an impact on 2017! Let’s take a look at some pieces that have that lime or whitewash finish and will surely add character to your home.
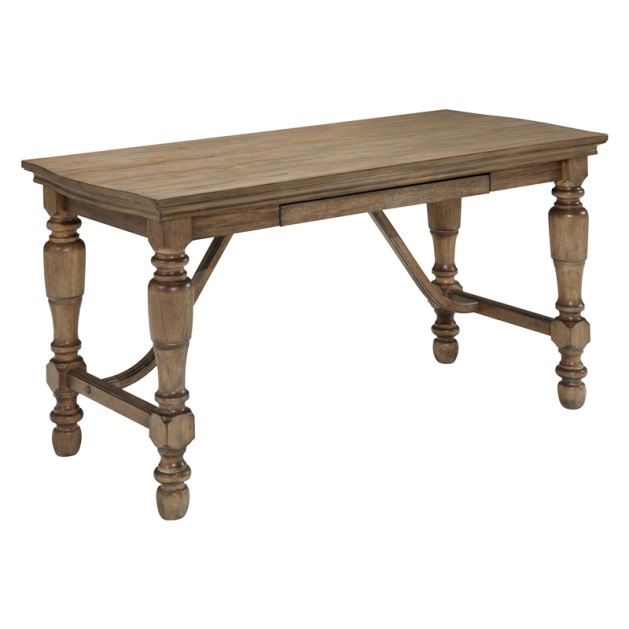
The“Tanshire” officedesk, made of select veneers and hardwTood solids features a vintage casual look with its light gray and brown finish. Although the contrast is not white, the wood grain is just as exposed in this piece. The beautiful cast hardware and the turned legs add a certain character and elegance to this piece. It’s the perfect addition to an office to create a refined look.
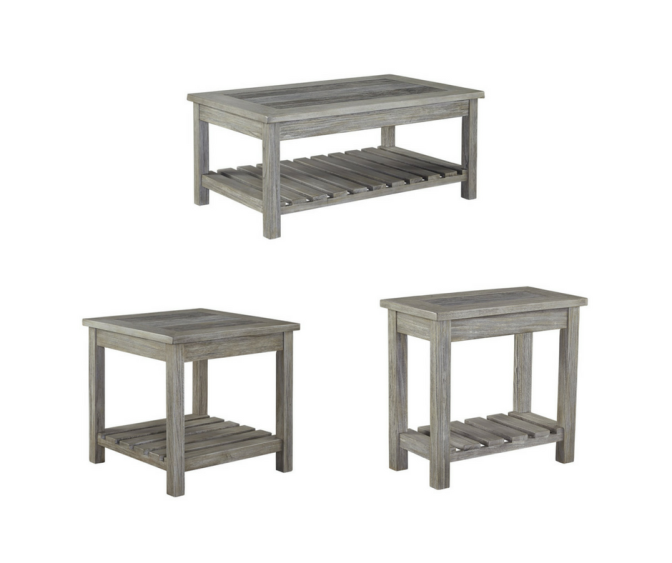
The“Velder” cocktailand end tables feature muted tones which maximize impact on the washed out finish. The open slat shelf below is fresh, functional and provides extra space for storage needs. All in all, these tables will act as statement pieces in your living room, despite their muted colors. The exposed wood grain will speak for itself.
sdfsdfsdfsdfs
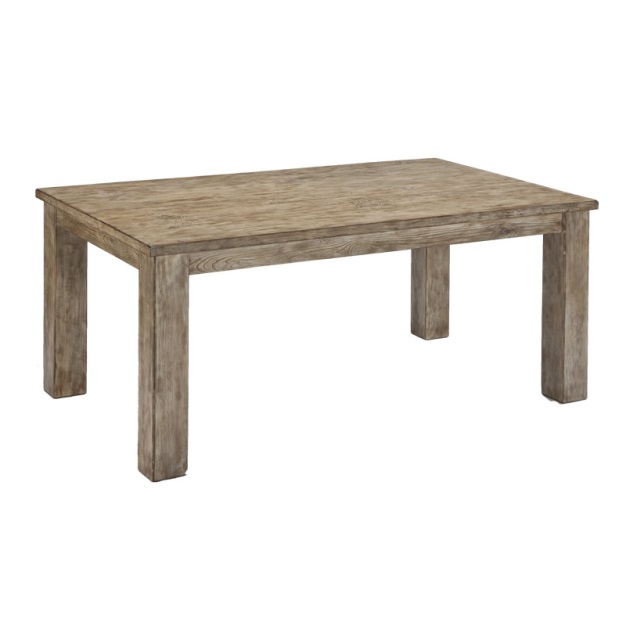
The“Mestler” diningtable will surely enhance any dining room! Its beautiful whitewash finish is typical of a vintage casual style, as it is often associated to an aged look. If you’re looking for a piece to add character to your dining room, this is the one!
sdfsdfsdf
What makes this limed oak finish so appealing? A cerused wood finish highlights the contrast between the wood grain and remainder of the surface, creating quite the trendy look! This technique which was once used in the 1500’s by the French has reemerged and become one of the most desired home décor trends to hit 2017. What do you think?
Content provided by: @tailbase

Tuesday, August 16, 2016

Furnishing your Apartment on a Budget

pic1
Furnishing your apartment on a budget:
Furnishing an apartment can be difficult due to several constraints. Apart from size, budget and lease constraints (if it is a rental) are at the top of the list. Nonetheless, there are always ways to work around such restrictions. Let’s examine how you can wiggle your way around them.
1)      First and foremost, using multifunctional furniture will be extremely beneficial in the sense that you will make the most of a small space. That way, a single piece of furniture can serve several functions, and loosen the leash on the tight budget. An ottoman is the perfect example – it can serve as a storage piece, while it can also be used as extra seating for guests or replace acoffeetable! Here are some other neat ideas to help you save space and to pick pieces that can fulfill many purposes:
  • Sleepersofa: it can serve to seat your visitors, and as a guest bed in case a friend or family member spends the night
  • Diningtable: while its first obvious use is for dining, it can also be a useful workstation if every square foot counts.
pic2
2)      Another useful tip is to furnish your apartment with smaller scaled furniture. Despite being smaller than other furniture, purchasing smaller furniture will still look just as stylish and perform the same functions! Besides, furnishing a small apartment with large furniture will make it seem even smaller. Believe it or not, many manufacturers come out with pieces in several sizes, in order to accommodate different markets. For instances, you can find smaller living room and dining roomfurniture scaled to fit smaller spaces.
pic3
3)      Finally, shape matters too. Narrow and rectangular shapes are preferable and tend to be quite useful in a small apartment. A narrow sofa and coffee table will give the impression that your living room is more airy and not so cluttered. The same goes for the dining area.
pic4
It is clear that multipurpose, smaller scaled furniture and shape are all important factors which contribute to maximizing a small space. Now you can go ahead and furnish your apartment with strategy!

Tuesday, March 22, 2016

Easter Centerpieces: DIY

By Capital Discount Furniture


Hop your way into Easter with this simple & charming floral arrangement. The beautiful pastel colors will give your table setting the fresh look it needs this spring. Then, with the same eggs, you can make another thrifty craft that will look just as dainty. Follow these easy steps & you’ll have them done in no time!

Easter Floral Arrangement

What you need:

·         A wire basket
·         Speckled Easter eggs
·         Baby’s breath
·         Vase

1)      Use some speckled Easter eggs, preferably in muted colors. If you do not manage to find any that are already prefabricated, purchase some wooden or foam eggs. Then paint them in muted colors of your choice. As a final touch, use a toothbrush to speckle brown spots.  Make sure to make extra eggs for the following craft!


2)      Start by adding a few eggs in the wire basket. Don’t be afraid to mix the colors for best results! Also, include yellow, as you cannot have a happy event without the color that best represents the emotion! Next, add a glass vase in the center of the wire basket. Then arrange the eggs around the vase according to your liking. Once the wire basket is filled and the vase is surrounded, add water to the vase.


3)      Finally, add some flowers to your arrangement. Most people would consider baby’s breath a “filler” for floral arrangements, however its simplicity will not take away from the beauty of the colorful eggs in the basket. On the plus side, they are also extremely inexpensive, so your arrangement will turn out to be a bargain!


This arrangement has a rustic feel to it and would be showcased beautifully on a rustic dining table. It’s simple yet charming look will complement the natural and organic elements of the wood.


Nestled Easter Eggs

What you need:


·         A cake pedestal
·         Straw
·         Speckled Easter eggs in muted colors


1)      Begin by taking some straw and shaping into a circle. If the straw is being fussy, try to wet it a little to help shape it and stick it together. If it still does not stick together at the ends, a little dab of glue from a glue gun will do just fine.


2)      Place the straw that is now shaped into a nest onto the cake pedestal. Then, take some of the leftover eggs from the previous craft and nestle them into their cozy little nest. This centerpiece would look lovely with a Shabby Chic or Vintage Casual style, as it screams effortless elegance.


There you have it! A table with dainty and egg-citing décor. It’s quite egg-traordinary! 


 Content provided by: @tailbase